If you are running a website on the Blogger platform of Google and you are searching for a guide on How to use Google Indexing API for Blogger Website?
Then there is the first-ever guide on the Internet on using Google Indexing API for Blogger Websites.
So, I will cover everything step by step to teach you how to use Google Colab indexing API properly to index your blog post faster in Google search.
What is Google Indexing API?
Google has launched an API called Google Indexing API. It helps the publishers of the website to notify Google Crawler Bot about the articles or pages which are added or removed or updated.
As the name says, it does not index the article in the search engine, but it notifies Google Search Engine that an article or a page is posted, updated, or removed from the website.
And the Search Engine has to crawl the website and add the posted or updated articles or pages to SERP and removed the deleted content from the SERP
Steps Involved in using Google Indexing API for Blogger Websites
- Connecting your Cloud Console with your website’s Search Console
- Getting the API key and enabling Google Indexing API
- Using the API and pinging Google to index your articles.
Connecting Your Cloud Console With Search Console
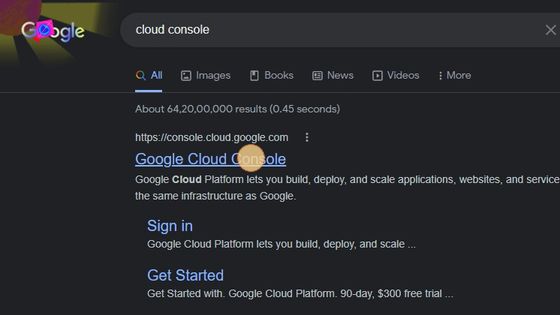
1. Go to Google and Search for “Cloud Console”.
2. Click “Google Cloud Console”
3. Click “Select a project”
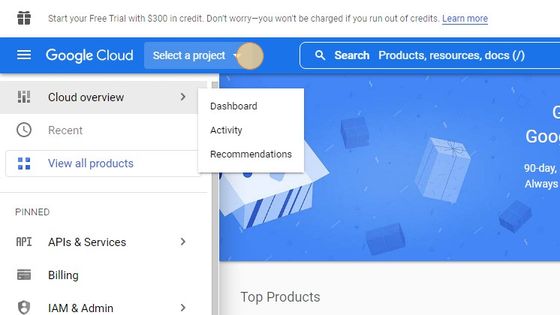
4. Click “NEW PROJECT”

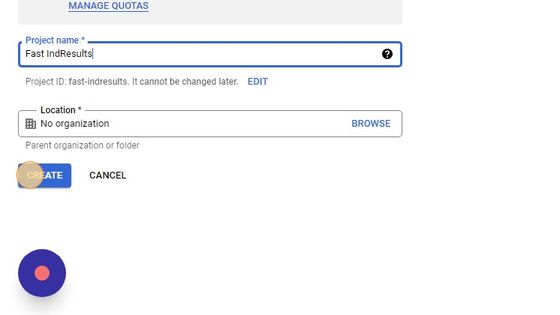
5. Click the “Project name *” field.

6. Type your Project Name
7. Click “CREATE”
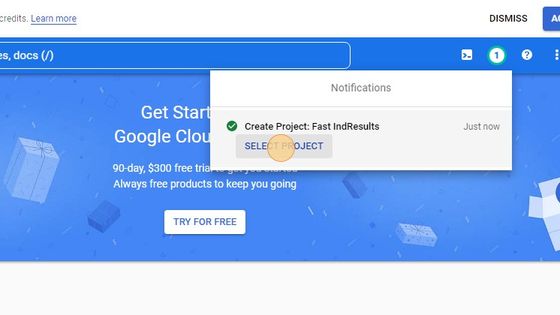
8. After Loading, Click “SELECT PROJECT”
9. From the menu on the left-hand side, Click “IAM & Admin”
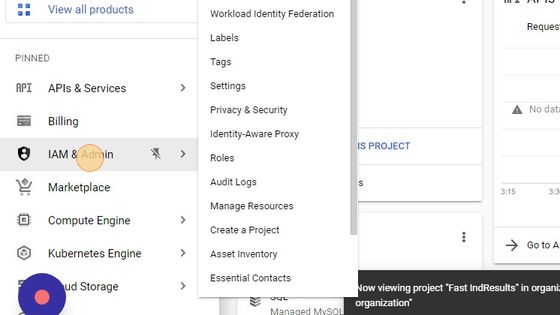
10. Click “Service Accounts”
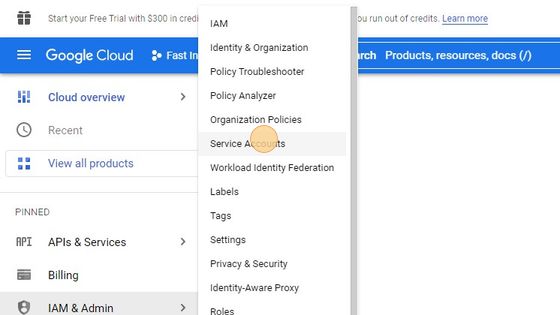
11. Click “CREATE SERVICE ACCOUNT”
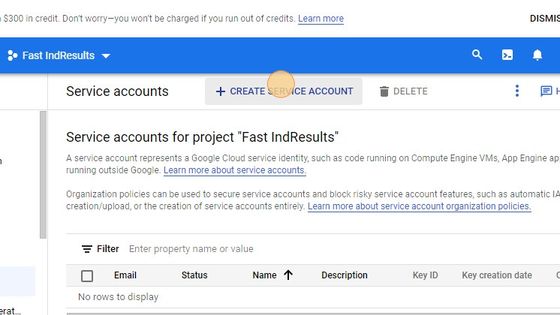
12. Click “Service account name”
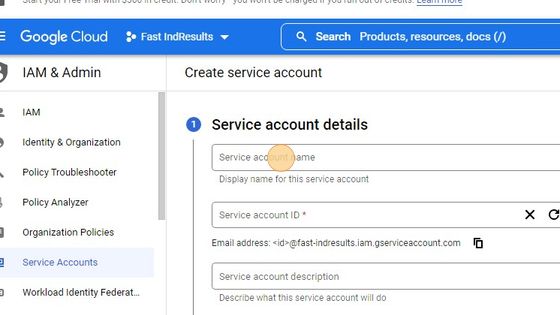
13. Type your Service Account Name. Example “Fast IndResults”
14. Click “CREATE AND CONTINUE”

15. Click “Select a role”

16. Click “Owner”
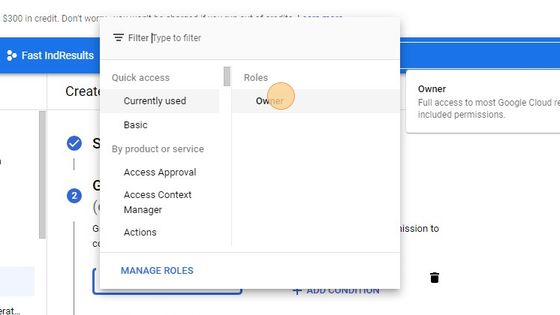
17. Click “CONTINUE”
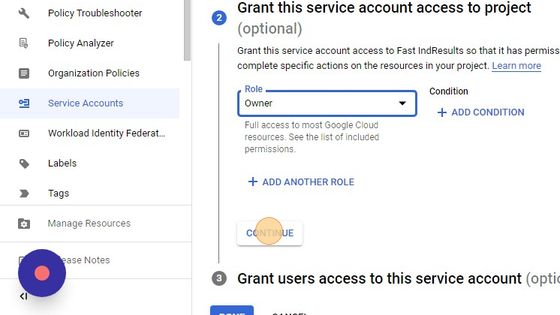
18. Click “DONE”
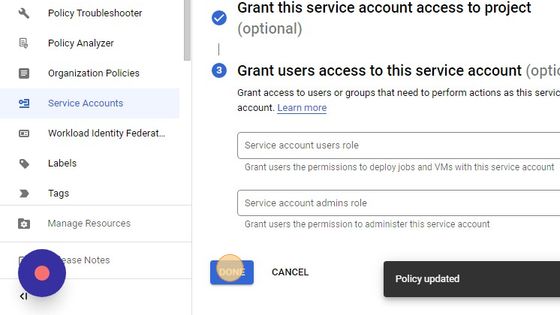
19. Open a new tab
20. Navigate to your Google Search Console Account
21. Click and select your property. Example “https://fastindresults.blogspot.com/”

22. On the Menu, Scroll down and Click “Settings”

23. Click “Users and permissions”
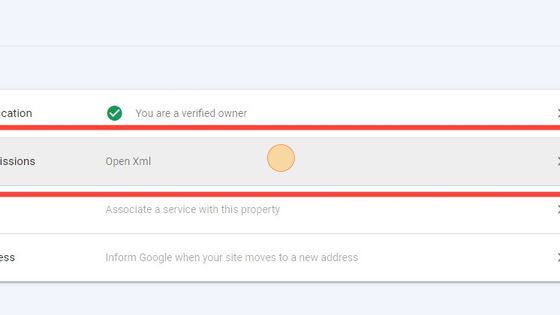
24. Click “ADD USER”
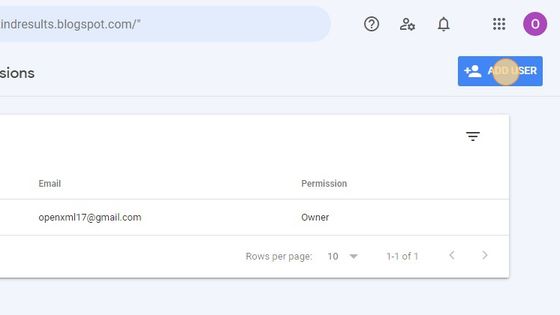
25. Switch Back to Cloud Console Tab Again
26. Click on the Email Shown like this.
For security purposes, I have to hide the email.
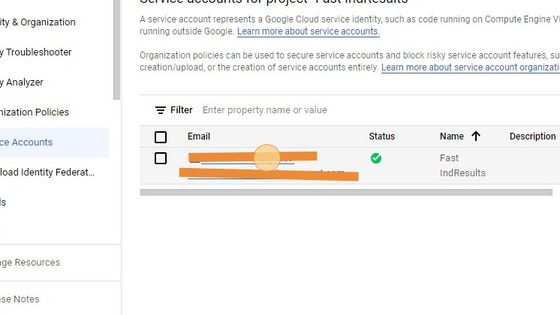
27. Copy the email given there under Email
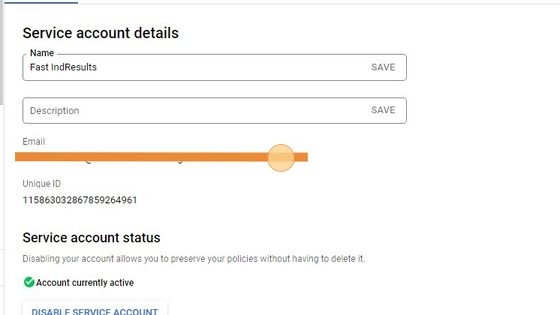
28. Switch back to Search Console Tab
29. Click this text field.
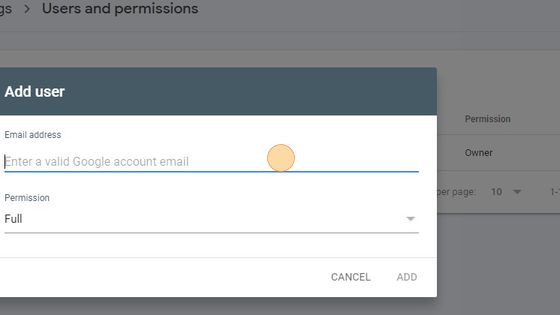
30. Paste the Email Copied from Cloud Console there.
31. Click the Permission drop-down menu.
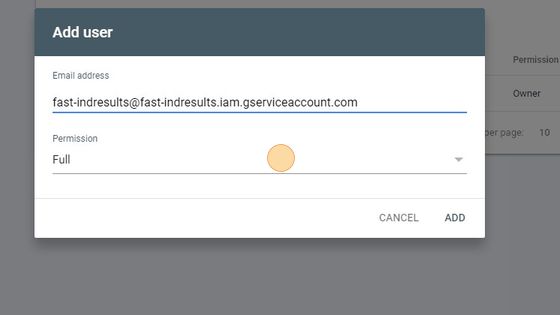
32. Click on “Owner”.
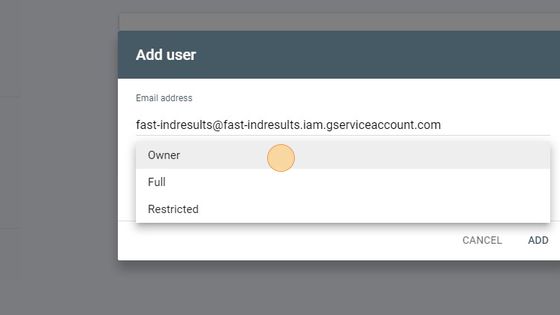
33. Click “ADD”
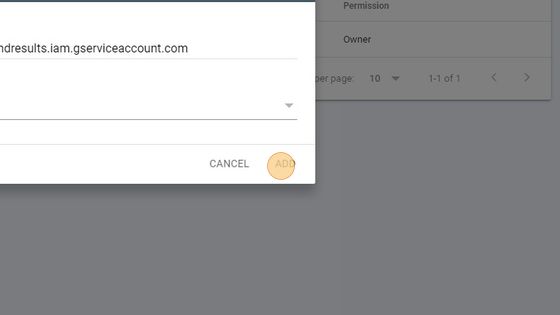
34. Refresh the page once.
Now to have Successfully connected your Cloud Console with Search Console.
Enabling the Google Indexing API for the Project
35. Click this icon and go back.
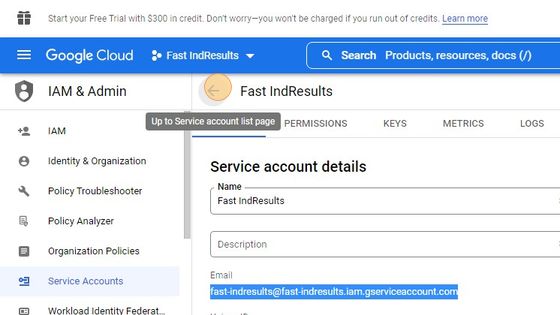
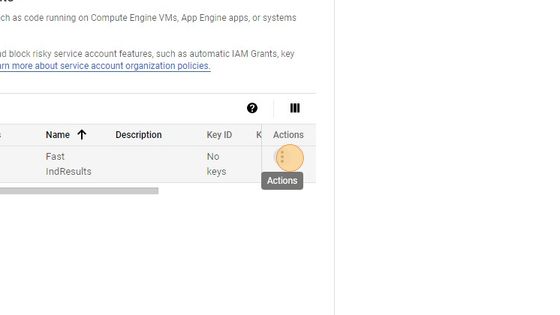
36. Click these three dots menu icons under the actions tab.
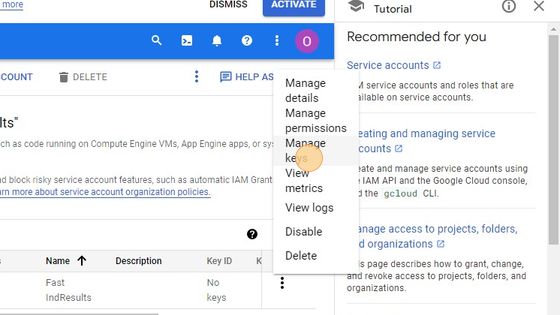
37. Click here the Manage keys option.
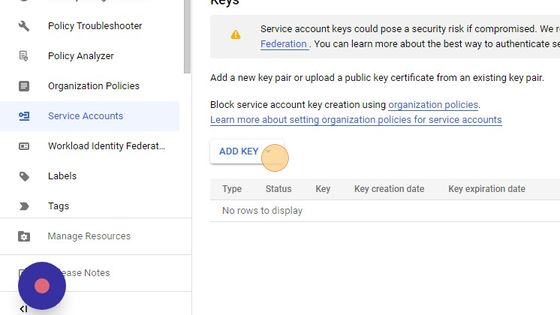
38. Click on “Add Key”.
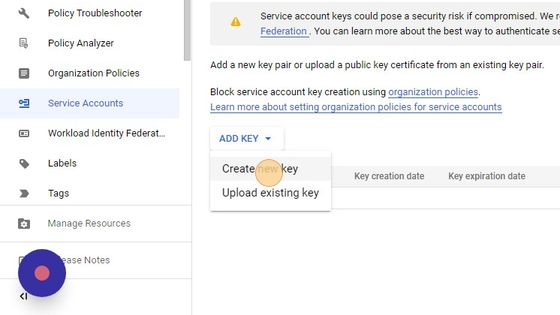
39. Click on “Create new key”.
40. Click “CREATE”

41. A JSON file will be downloaded on your device. And a Popup will open, close that popup by hitting the “CLOSE” button.
The downloaded JSON File is the API Key which we will use further in Google Colab Console.
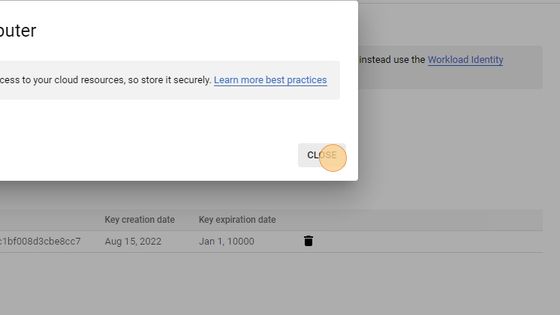
42. Click this link to return to Dashboard.
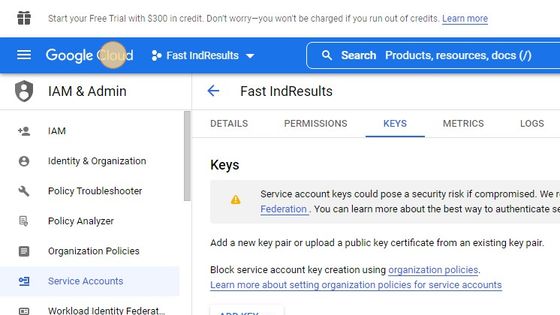
43. Click “APIs & Services” on the Left-Hand MenuClick “APIs & Services”
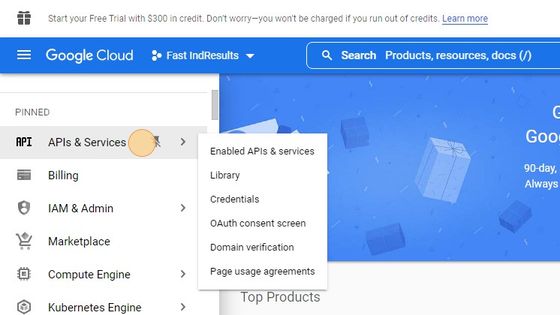
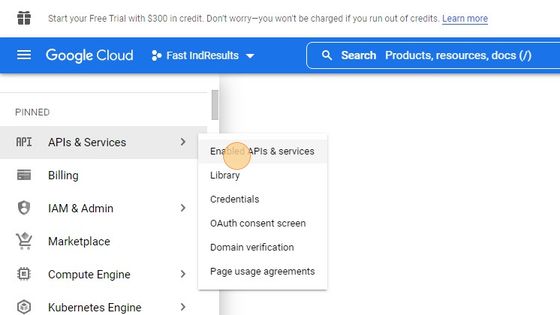
44. Click “Enable APIs & services” from the sub-menu options.
45. Click “ENABLE APIS AND SERVICES”

46. Type “Indexing API” in the search field.
47. And select “Indexing API”

48. Click on “Indexing API” from the results section.
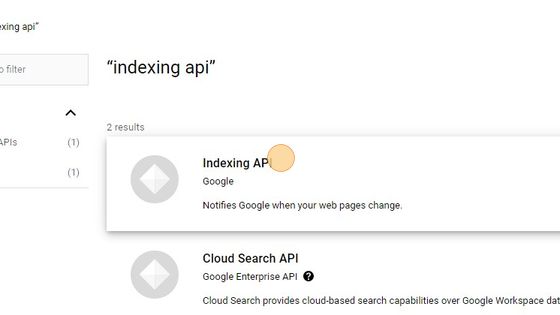
49. Click “ENABLE”

50. After the API is enabled, you will be redirected to the homepage of the API.
51. If you see the option “DISABLE API” on the page, don’t click on it, that means everything is fine and it’s done.
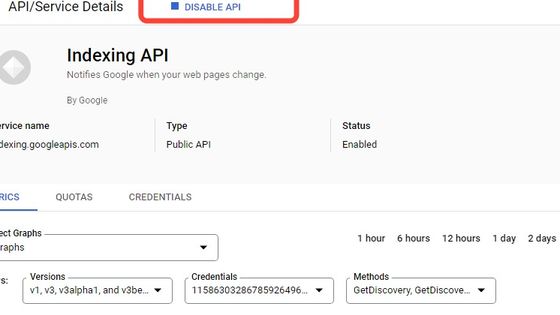
Congratulations! You have Successfully got your API Key and Enabled the Indexing API
Pinging Google with Google Indexing API
52. Open a new tab
53. Navigate to
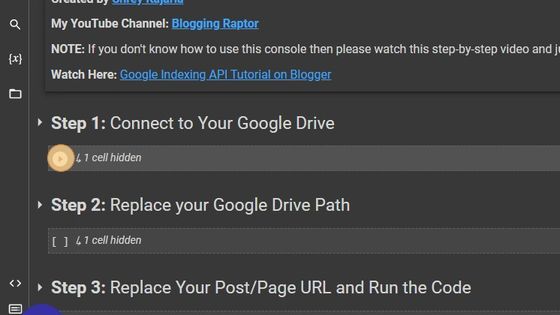
54. Click “Run cell” for “Step 1: Connect to Your Google Drive”.
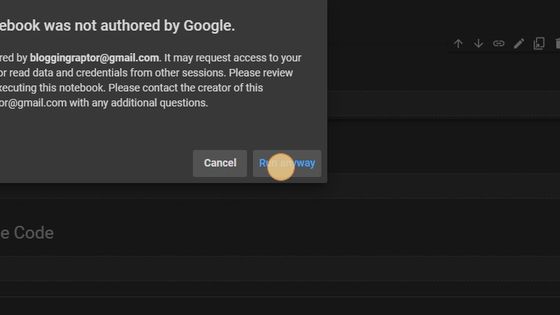
55. Click “Run anyway”, No data will be collected.
56. Click “Connect to Google Drive”
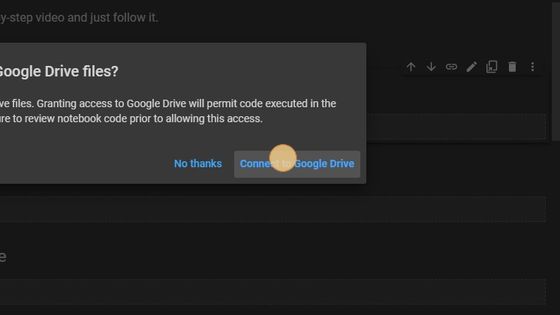
57. Select your Email ID. Example: “[email protected]”.
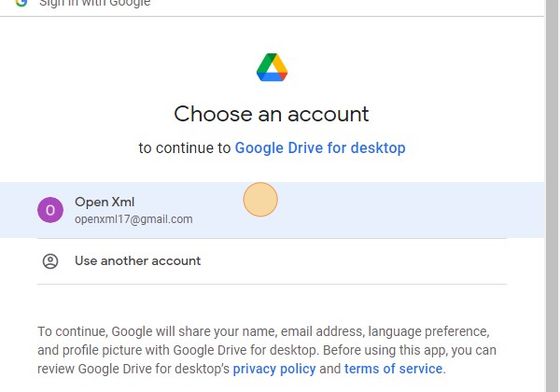
58. Scroll and Click on “Allow”.
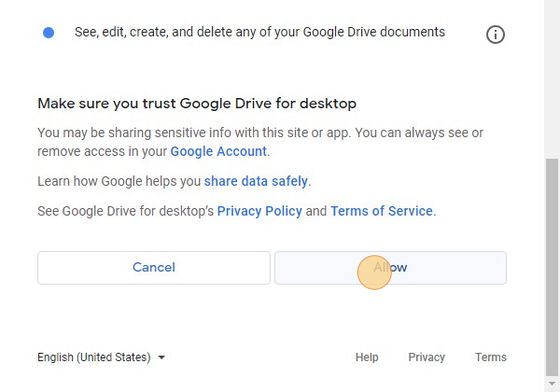
59. You will Automatically return back to the Google Colab Console tab.
60. And you will get a message:
“Mounted at /content/drive, Successfully Connected!”
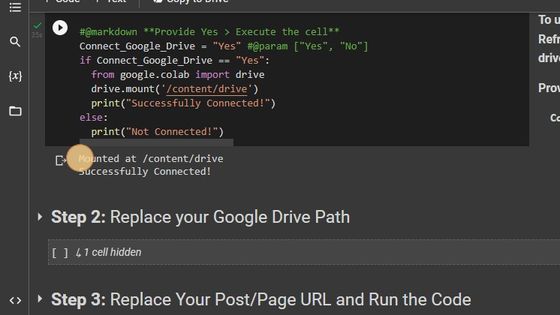
61. Click on the arrow to unfold “Step 2”.
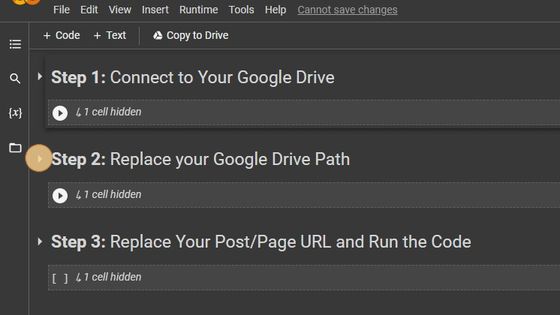
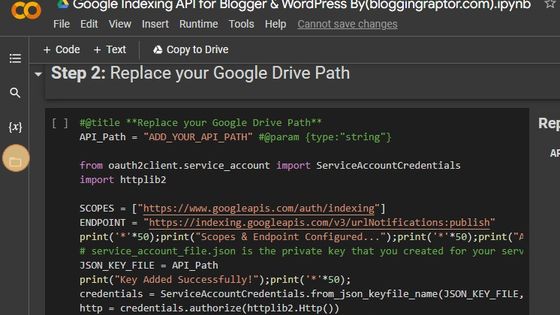
62. Click on the “Files” Icon on the left side.
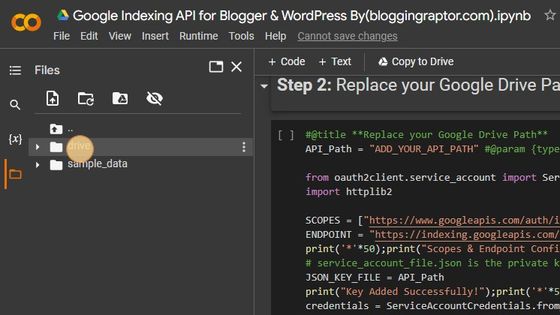
63. Click “drive”
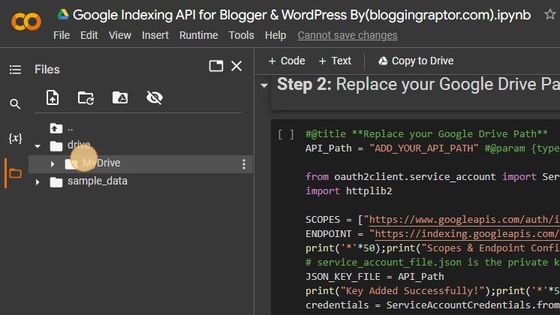
64. Click “MyDrive”
65. Click on the 3 Dots menu here.

66. Click “Upload”
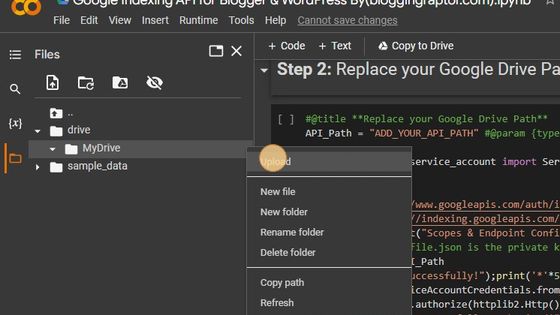
67. Upload the JSON File which was downloaded when you created the API from Cloud Console, that we have downloaded in “Step 41”.
68. After Uploading, Click on the 3 Dots menu here.
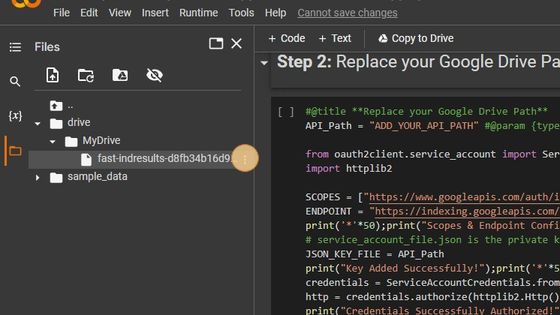
69. Click “Copy path”

70. Click here. And delete every from here.
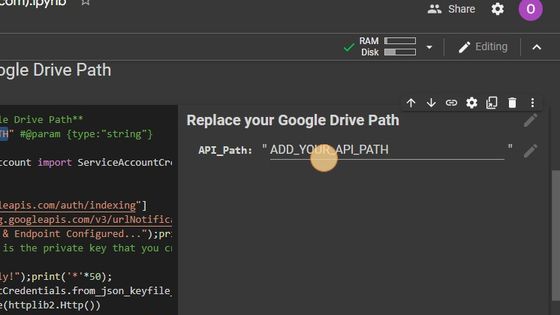
71. Paste the JSON API File Address, which you just copied here.
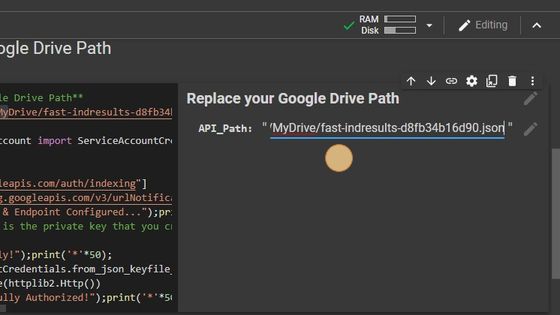
72. Click “Run cell”

73. You will get a success message like this. Now unfold Step 3 by Clicking on the icon shown in the image.
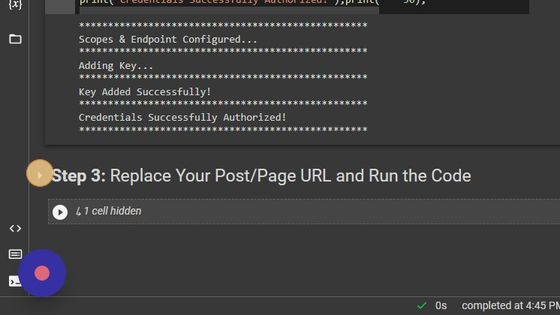
74. In a new tab, navigate to your website. Example “https://fastindresults.blogspot.com/”
75. Copy the link to your website or the link to any article or page of your website.
76. Come back Google Colab Console Tab
77. Click on the Input Field. And delete all the text present there
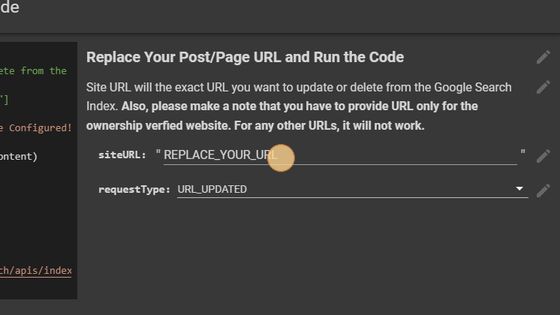
78. Then paste your article link which you copied from your website.
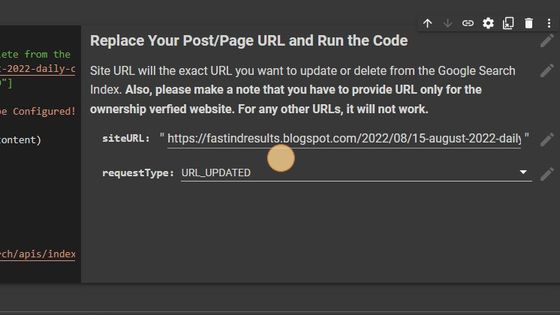
79. Click “Run cell”
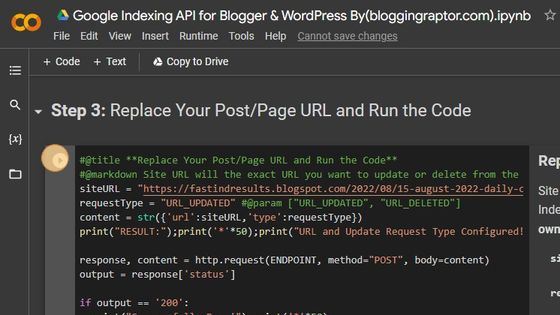
80. You will get a success message like this. “Successfully Done!”

Bookmark this link. Whenever you have to submit a new URL you have to go to this link and repeat all the steps from Step 53.
Congratulations! You have submitted the URL to Google. Within a few seconds, your article will be crawled and get indexed in a few minutes.
Note: we use this API to get the bots & crawlers to crawl our website, and they will decide whether your site is ready to get indexed or not, but if it gets crawled then within a day or two, your article will be indexed.
Some Important Things to Remember
There are some important things that you need to remember and know about Google Indexing API and the method you followed above.
- Google Indexing API does not guarantee that your URL will be indexed. Google Indexing API is only a method to ping Google Search Engine that your website is updated with a new link.
- Like the WordPress method, it does not fetch the new URL automatically. You have to manually come to the page and submit the URL.
So bookmark the URL which you have finally come up with in Step 80. - To submit a new URL to Google, you have to come to the URL that you bookmarked in Step 80 and follow the steps from Step 55 excluding the steps from Step 61 to Step 71.
- It is recommended that you Ping Google with Google Indexing API at a fixed time only.
For Example. Suppose you publish articles daily. Daily use Google Indexing API at evening 6 PM and try to post your article before 6 PM.
Traditional Ways to Index Page
Some other traditional ways by which you can index pages and articles of your websites are
- Auto Index (Google finds the page relevant and automatically indexes the page)
- Manually submitting the URL in the search console.
- Using Google News
We have a detailed guide on How to Index a Website in Google Faster (7 Proven Ways). You may check this to know more.
Conclusion
So this was the way How to use Google Indexing API for Blogger Website? I know the process is lengthy but it is very effective.
If Google is not indexing your articles or not basically meaning to say Google Crawler Bot is not crawling your articles or websites and are not updating your content in SERP then you can use Google Indexing API for pinging Google.
If you are not getting Google News approval then you can use Google Indexing API for pinging Google.
And if you have any queries regarding it do ask in the comment section below, I will reply to you ASAP.
Outstanding article. I submitted my post link in Google api but it doesn’t index. What should be the reason for that? Can you explain. Please
Well, there might be several reasons for this.
First of all if everything works fine and you get success message the it means the API is working fine.
Second you need to check whether your page get crawled or not, if your page gets crawled then the API is working fine, and your page will be indexed within 24 to 48 hours, but if still your page doesn’t indexed then your page may be violating any Google search policies.
Thanks for such detailed information
Thanks 🤗
Okay, so after following all of these steps, I don’t think I got my desired results. My Search Console still shows yesterday as the most recent crawl even though I did it this morning.
Another thing: as I bookmark your collaboration notebook and my Google Drive is already mounted, do you mean to imply that the JSON path is already in the system despite the JSON path saying Apply your API Path?
I’m just wondering if the system recognizes my previous path already because revisiting the URL it is not clear.
Thanks.
The ultimate use of this API is to send Google crawlers to your page to crawl your page, if the fetch results in search console says the page crawled then it means the API is working fine, and if you have written a quality content then it will get indexed shortly.
You can try out without adding path, but if it shows any error then you should add the path again.
All the best 🤗
Thank you for the knowledge, it’s very useful, I’ve followed the tutorial and succeeded in finishing it, just waiting for the indexing, it might take a while, but that’s okay, I’ve got additional knowledge. Thank You
All the best 😊
Hi can i use this methode to index a website that’s not in my google search console.
btw… thanks this method is working
As you can see, that you need to verify the domain and the cloud console email in search console.
It that’s not possible 😔
Good evening sir, I regularly follow your blog very helpful for me but my doubt is can I remove old Google api and create new API? And can I remove old service account and submit new service account in search console? Can I create new JSON key?. Please suggest me. Thank you
Yes you can do that ☺️
I have bookmarked the page.. I will always try to index my page.. thank you
Welcome and all the best for your blogs 😊