If you want to create a popup in WordPress for your site for free, then your search is over as till the end of this article you can easily create a popup in your WordPress site.
One cool trick to grab the attention of visitors and turn them into loyal fans or customers is having popups on your site.
In this article, I’ll show you how to make popups for free that people like and that make them stick around on your site longer.
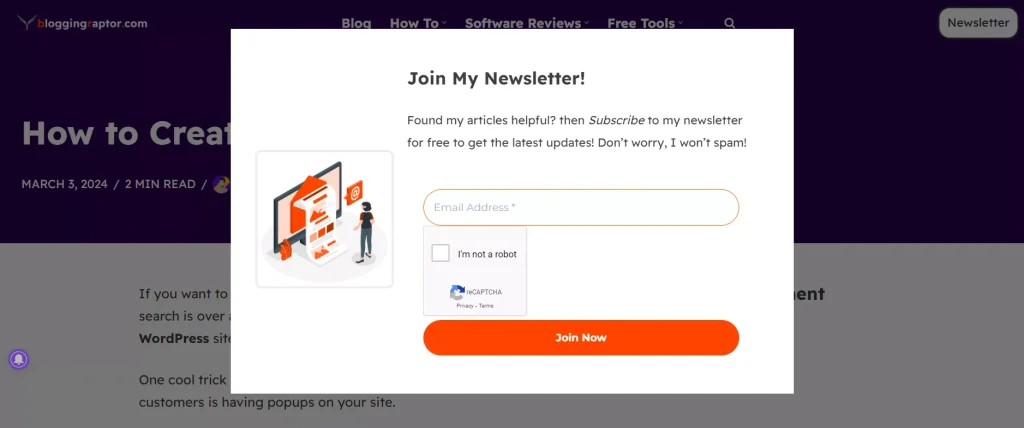
☝️ Here is the screenshot of what I’m going to teach you in this article.
Whether you’re a pro at WordPress or just getting started, I’ve got you covered with simple tips and tricks to make your website pop!
Well if you want to see a demo of the popup that we’re going to create in this tutorial then click below button to check out.

Join My Newsletter!
Found my articles helpful? then Subscribe to my newsletter for free to get the latest updates! Don’t worry, I won’t spam!
So, without any further talk, Let’s dive in!
Create a Popup in WordPress with Otter Blocks
I will guide you on how to do this step-by-step, first, we need a plugin called Otter Blocks.
Step 1: Installing Otter Blocks Plugin
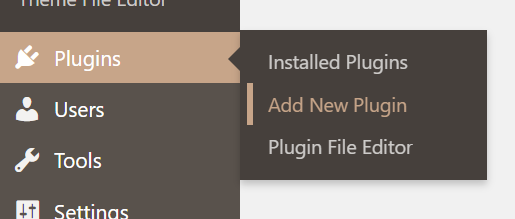
To install Otter Blocks first we need to go to our WordPress dashboard, click on the Plugins tab then click on Add a New Plugin.
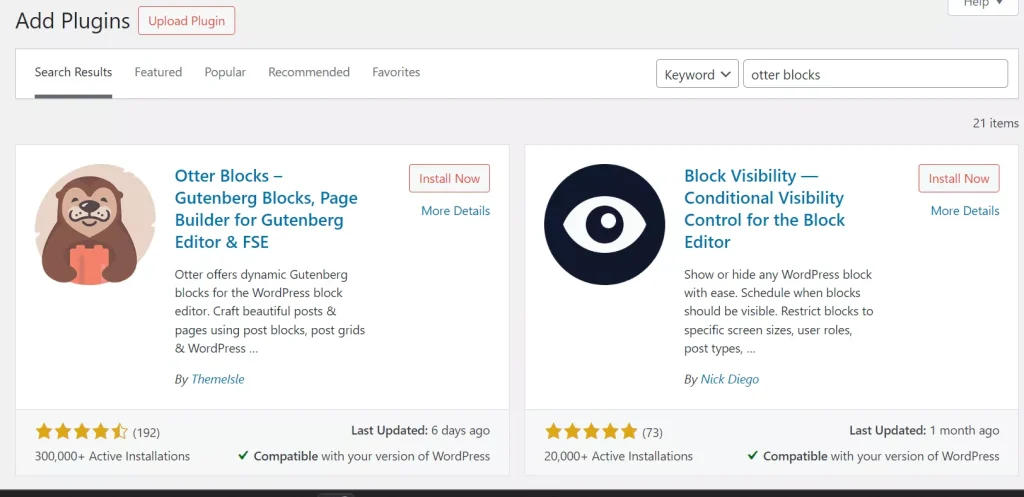
Now just search “Otter Blocks” on the “search plugins” text box, and you will see the Otter Blocks plugin by Themeisle then just click on the “Install Now” button.
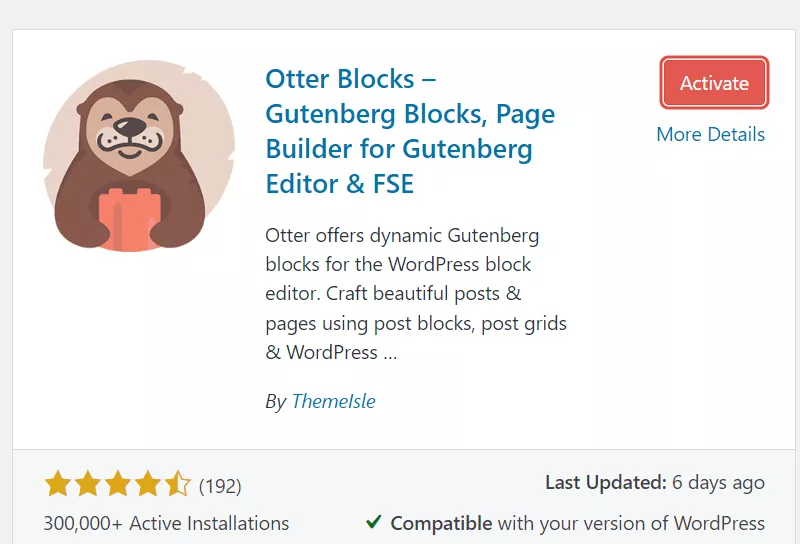
After it gets installed, click on the “Activate” button to activate the plugin.
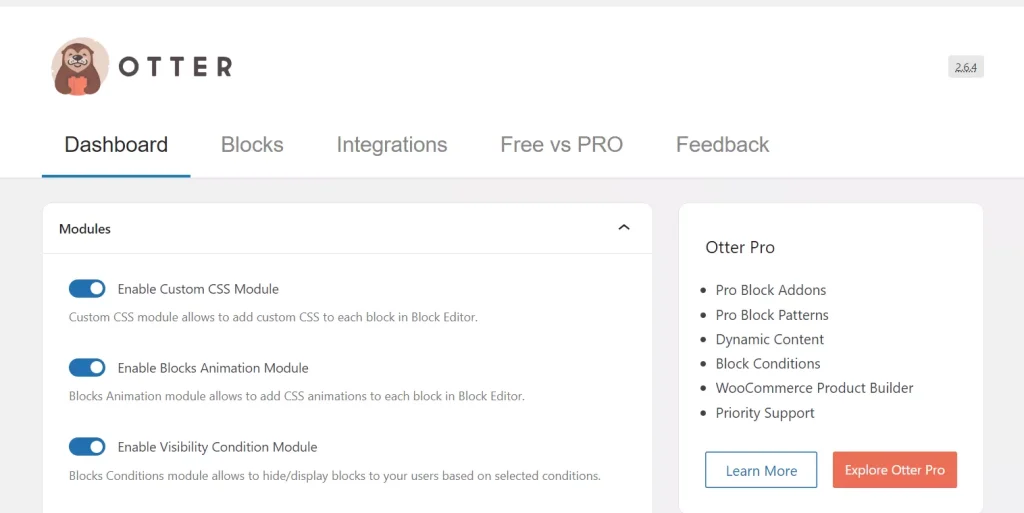
And after it gets activated you will be redirected to the Otter Blocks dashboard where you don’t need to do anything.
Now to add a new popup to your new or existing posts/pages, just open that post/page.
Step 2: Adding Popup to Your Page/Post
For this tutorial, I’m using my RaptorKit website’s Contact page.

So just go to the Pages tab and click on the “Edit” button of the page in which you want to add a popup.
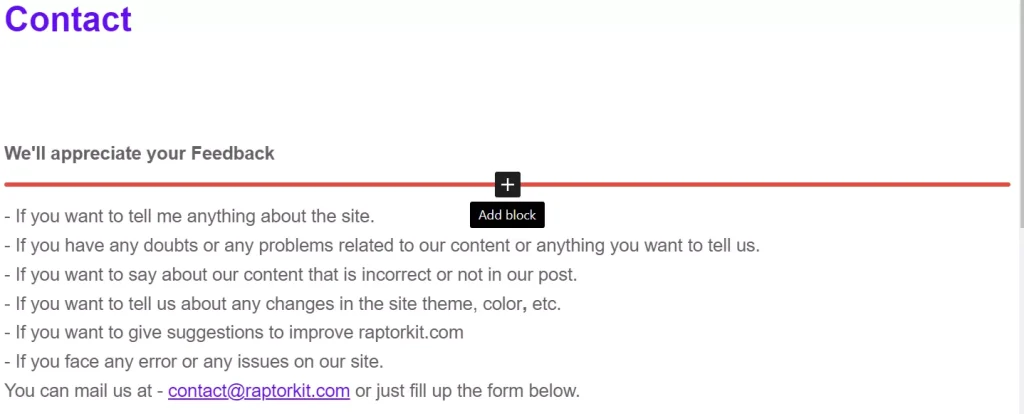
After that, you just need to add the Otter popup block anywhere on your page. To do that just click on the add a block icon type “popup” and select the red color popup block.
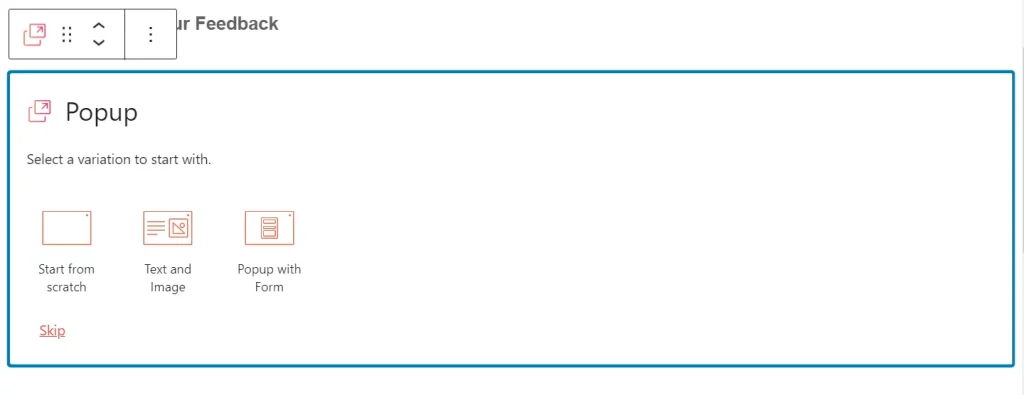
Then select the variation you want, if you want a completely blank page and create your own popup from scratch then select the “start from scratch” option, or you can select a “text and image” layout or a “form” layout.
I will select the “text and image” layout for this tutorial.
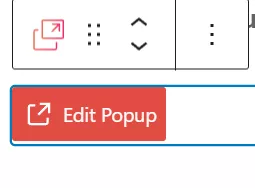
Now you have added the popup successfully, and to customize it according to your needs just click on the “edit popup” button.
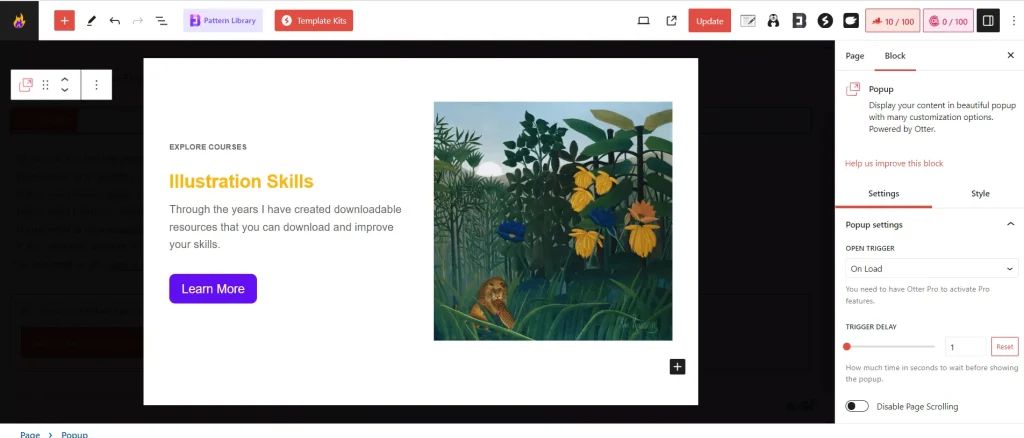
As you can see our popup looks like this.
Now you can customize it as you want, it is very simple just like the normal page/post editor you can add any texts, blocks, images, or any other file you want to show your audience as a popup there are no restrictions.
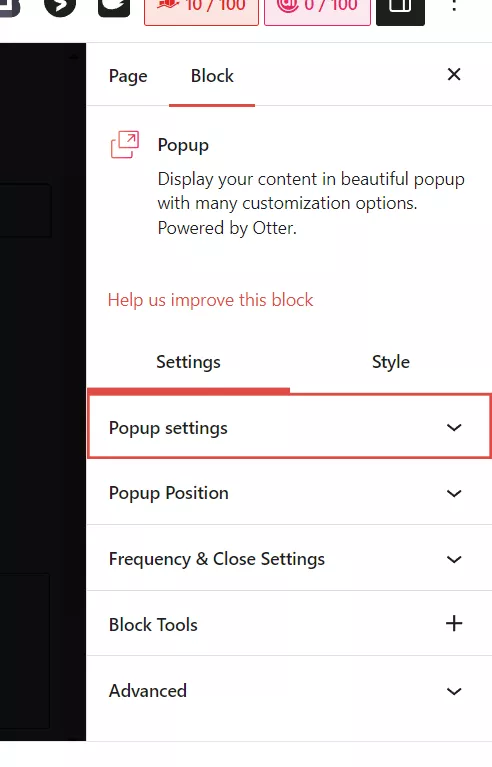
On the right side toolbar, you can see the settings option from which you can the popup settings like trigger options, delay time, popup position, frequency, and other settings.

Also, we got the style options where we can change the dimensions like height and width of the popup, colors, padding, close button customizations, overlay color, and border settings.
Well, I won’t explain all of these settings as it’s very simple to understand, and everyone has their own customization requirements, you can customize according to your needs.

After you have finished creating your popup just click on the update button to make it live on your page/post.
Now let me tell you more about the Otter Blocks plugin and features.
The popup block is free to use but there are some Pro features and for that, you need to get the Pro version of Otter Blocks.
You can get it by visiting the official Themeisle site by clicking the button below to avail the best available discounts.
Otter Blocks Features
- New Patterns: containing a range of different elements in a variety of styles to help you build great pages.
- Copy-Paste Block Styles: Save time and don’t do the same thing over and over again. Use this tool to easily copy and paste styles between blocks with just one click.
- Extra Functionalities for all Blocks: It does more than just give you extra custom blocks for Gutenberg.
It also adds special features like Custom CSS, Animations, and Visibility Conditions to the blocks already on your website, whether they’re default or from another source. - Custom CSS: This feature lets you change the appearance of any Gutenberg block on the page by adjusting its CSS properties directly.
- Animations: You can easily make any block move on your page with animations, making your blocks and sections look more attractive.
- Dynamic Content: Put the information you’ve customized for your posts directly into your blocks. You can use text, images, and links.
Types of Blocks by Otter Blocks
You can check their demos on the official Themeisle site by clicking here.
Alright, this was a quick step-by-step tutorial on how you can create a popup in a WordPress website with the Otter Blocks plugin, I hope you found it helpful, and if yes then do share it with the one who wants to create a popup on their WordPress website.